Planting Garlic
In all the places where cold winters blanket the Earth, fall is the time for planting garlic. In general, the middle of October is a great time to do so.
Prepare the bed as usual. Make sure that there are no rocks, sticks or weeds and that the bed is in an area that will get at least six (preferably eight) hours of sunlight a day. Adding some organic alfalfa meal, kelp meal and old manure or compost gives the garlic—and the worms—something to eat. Sprinkle the meal on the top; about a coffee can of alfalfa and ½ a coffee can of kelp will suffice with a bed that’s 18 feet long and three feet wide.
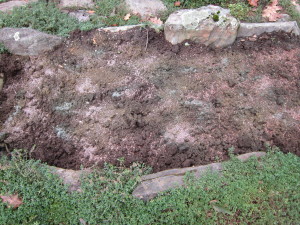 If you can, it’s nice to add a good ¾ inch of old manure or compost—spread this on top as well. Fluff up the soil by inserting a broad fork or a pitchfork every few inches and lifting it up a bit. Rake it flat.
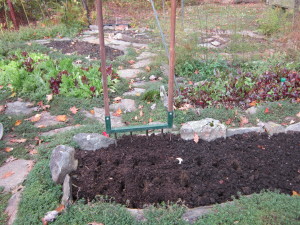 Now it’s ready to plant. Break apart the garlic cloves using a flat butter-type knife. Using a dibble (a tool specifically designed for planting garlic and onions) or a pointed stick, make holes about five inches deep and five or six inches apart. It’s nice to stagger the rows a bit.
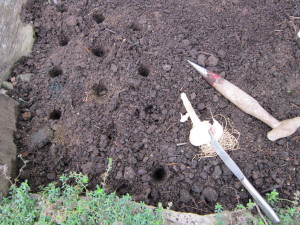 Place one garlic clove in each hole being sure to place the pointy end up. Cover by brushing some soil over the bulb and fill up the hole.
Garlic can benefit from a little mulch and there are usually lots of leaves on the ground at this time of year which can be used. I place my sunflower stalks on top of the leaves to keep them from blowing away. Or, it can be covered with hay. Tucked in this way for the winter, the garlic will actually grow under the mulch (and snow if there is any!).

